Pages

Friday, August 13, 2010

Something for me...

I love my new bag. I don't know what I love the most about it - the Lizzy House Red Letter Day Fabric (ducks in a row), the stripey lining and handles, the internal zippered pocket (first one I've sewn!), or the amazingly endless bottomless pit that will fit everything I need inside.
I needed a bag to throw everything into for the days that I casual teach, and for the outings with the kids that require food, extra nappies, etc. I thought this pattern was perfect. It's the Left Bank Granny Bag from the book Carry Me, by Yuka Koshizen.
The book's a bit intimidating - it's translated from Japanese and most of the instructions are in diagrams, with only minimal words. There were no full-size pattern pieces for this bag, only schematics to measure and cut out each rectangular piece. But having good maths skills I thought I'd give it a try.

I made a few modifications and had to improvise a couple of times where the pattern seemed a bit lost in translation. I'll try to describe them here for anyone planning to use this pattern:
  • My bag is an inch or two shorter - this way I could squeeze it out of my one yard of ducks in a row fabric. Basically, I cut the width as per the pattern for the entire length of my piece of fabric and squared it off.
  • I cut my outer piece in half and pieced it so the ducks were right-side-up on both sides :)
  • The straps were cut from my lining fabric as I wanted to use the stripes. But if you only have 1 yard of each fabric I think you need to use the lining fabric anyway (unless you piece the outer fabric to get the right length).
  • The pattern has you cut interfacing out for the pocket, but never tells you where to use it. I fused it to the wrong side of the lining fabric, where the pocket gets sewn on.
  • For the gathers and pleats at the top, the pattern instructs you to randomly sew pintucks. I couldn't see any pintucks in the photo, so I'm not sure if that's what she meant. This is what I did: I 'basted' 7 large tucks (about 1 cm wide), evenly spaced across the top, using my maximum stitch length. I finger pressed them toward the outside of the bag. Then I sewed my gathering stitches and gathered to match the top panel width. Once I completed the bag I ripped out the stitches holding the tucks as well as the gathering stitches. If I did this bag again I'd sew some more tucks (about 1 inch apart instead of 2) before gathering.
  • After top-stitching the top panel, I slip-stitched the inside seam to add strength and neaten the edge.
 I grin whenever I see this bag and look forward to using it all the time! I would definitely make another one.

Sunday, August 8, 2010

Ice Cream Dress #2

I am so happy with this one! And even happier that I even managed to get my model to wear it for a few quick snaps on a cold morning.


Pattern: Ice Cream Dress by Oliver + S, View C
Size: 12 - 18 months; as you can see in the photos, plenty of room to grow!
Modifications: lengthened to size 2 length for my long girl!
Fabric: Calme by Lecien, lightweight

Nearly a year ago I bought a pair of handmade bloomers at a local market, made out of this fabric. I've always loved the fabric, but couldn't really find anything to 'match' the bloomers. So I was delighted to find the fabric, on special, and quickly stitched the blouse to match.

This blouse was so much quicker to make than the dress, for many reasons - no pockets or double hem for View C; I was familiar with the pattern already; I only needed to cut out one extra pattern piece since I'd sewn View A in the same size. On the other hand, the fabric was more challenging to work with as it is so lightweight, but the result was well worth the fiddly-ness.
 I love this pattern - It is simple enough to sew yet looks elegant and better than what you can buy at the shops!

Thursday, August 5, 2010

Fabric Finds

Is there anything more exciting than finding an out-of-print fabric that you thought you'd never get a hold of? OK, I'm sure there are plenty (a recent example - my baby girl finally started crawling, well, er, moving forward with great effort); but what great finds!

Those of you who know me know that I am a little bit obsessed with MoMo's Wonderland fabric. My first quilt was made using one and a bit charm packs. And I've previously shared my Wonderland stash with you.

I'll try to make this story short - my girlfriend was in a quilt shop about an hour's drive away and noticed some Wonderland fabrics. She excitedly rang me and brought me back a yard of the pink vine fabric you see below. I couldn't resist and drove down a few days later and acquired the rest.


From left to right: approx 2 yards; 1 metre; 1 metre; 2/3 yard; 1/2 metre; 3 x fat quarters and a 1/4 metre remnant of dots.

I was in heaven! It was a lovely shop and very bright and friendly. Mostly more traditional prints but a good selection of modern fabrics and some Japanese too! So if you're ever travelling in Australia check out Berry Patchwork Shop in Berry, NSW, about 2 hours south of Sydney.

I also picked up some great deals on lecien fabric on special...
For my first garment for me:
For Miriam's second Ice Cream Dress (View C - the blouse):

Next project is the Ice Cream Dress - fabric is washed and ready for cutting.

Sunday, July 25, 2010

Ice Cream Dress #1 - Finished

I've finished my first Ice Cream Dress (well, I still need to buy and sew on a button):
Pattern: Oliver + S Ice Cream Dress, size 12 - 18 months
Fabric: Panache by Sanae for Moda

It's been a learning experience with lots of firsts - mainly gathers and rounded pockets. I ripped out and redid a number of seams, and performed some major surgery on my pockets - probably not noticeable to the greater public, but definitely to me and other sewing enthusiasts!

Before:

After:

Can you see the difference? I hope so! I ripped the pockets off, repressed the curves after clipping the seam allowance and using a cardboard template, and restitched them on using coordinating thread, with a longer stitch length. Oh, and stitched twice. Phew! Now I'm happy.

I look forward to making my second one, and improving the gathers and the back of the yoke. I may get your help to choose the fabrics. But for now, a big bowl of ice cream for me :).

Tuesday, July 20, 2010

Ice Cream Dress #1


I've joined the Ice Cream Social, hosted by the lovely (and relatively local) badskirt and One Flew Over. It's a sewalong for the Ice Cream Dress pattern by Oliver + S. I've been wanting to sew an Oliver + S pattern for ages, so this has been the perfect motivation!


The first dress I'm making is View A, in the 12-18 month size, to fit Miriam this summer. I cut out the pattern and fabric about a week ago, and last night I sewed the button loop and the pockets. Yay! I sewed pockets!

In previous posts, I've referred to a 3 pieces of fabric I received as a gift when Miriam was born - I'm using the other 2 pieces for this dress - Panache by Sanae. I think it's going to look good - and i like how the dots sort of look like sprinkles you might put on your ice cream:

The pockets took a while to make, but I'm pretty happy with the results:
I made the 'v' with the one horizontal stitch as suggested by the pattern. Only realised later that I should have done one diagonal stitch at the pocket yoke corners as well.

I'm pretty sure that I'll be making more than one of these, perhaps view C as well, which is a top. The only challenge will be choosing the fabric!

Latest Projects...

Since I finished my first quilt, I've been busy completing a few UFOs and have started Joseph's quilt. I've also joined the Ice Cream Social, but I'll write about that in a separate post.

A set of placemats (four of six shown):
I started these months ago, to practice cutting strips using my new rotary cutter, and to practice piecing with a 1/4" seam. I had the tops pieced and the flannel 'batting' and backings cut for months, and finally finished them last night. Hooray! The fabric is Natural Effects by Michele D'Amore. I used most of a set of 6 fat quarters and a bit of yardage. I made up the pattern.

Softie Wheat-bag Friend:

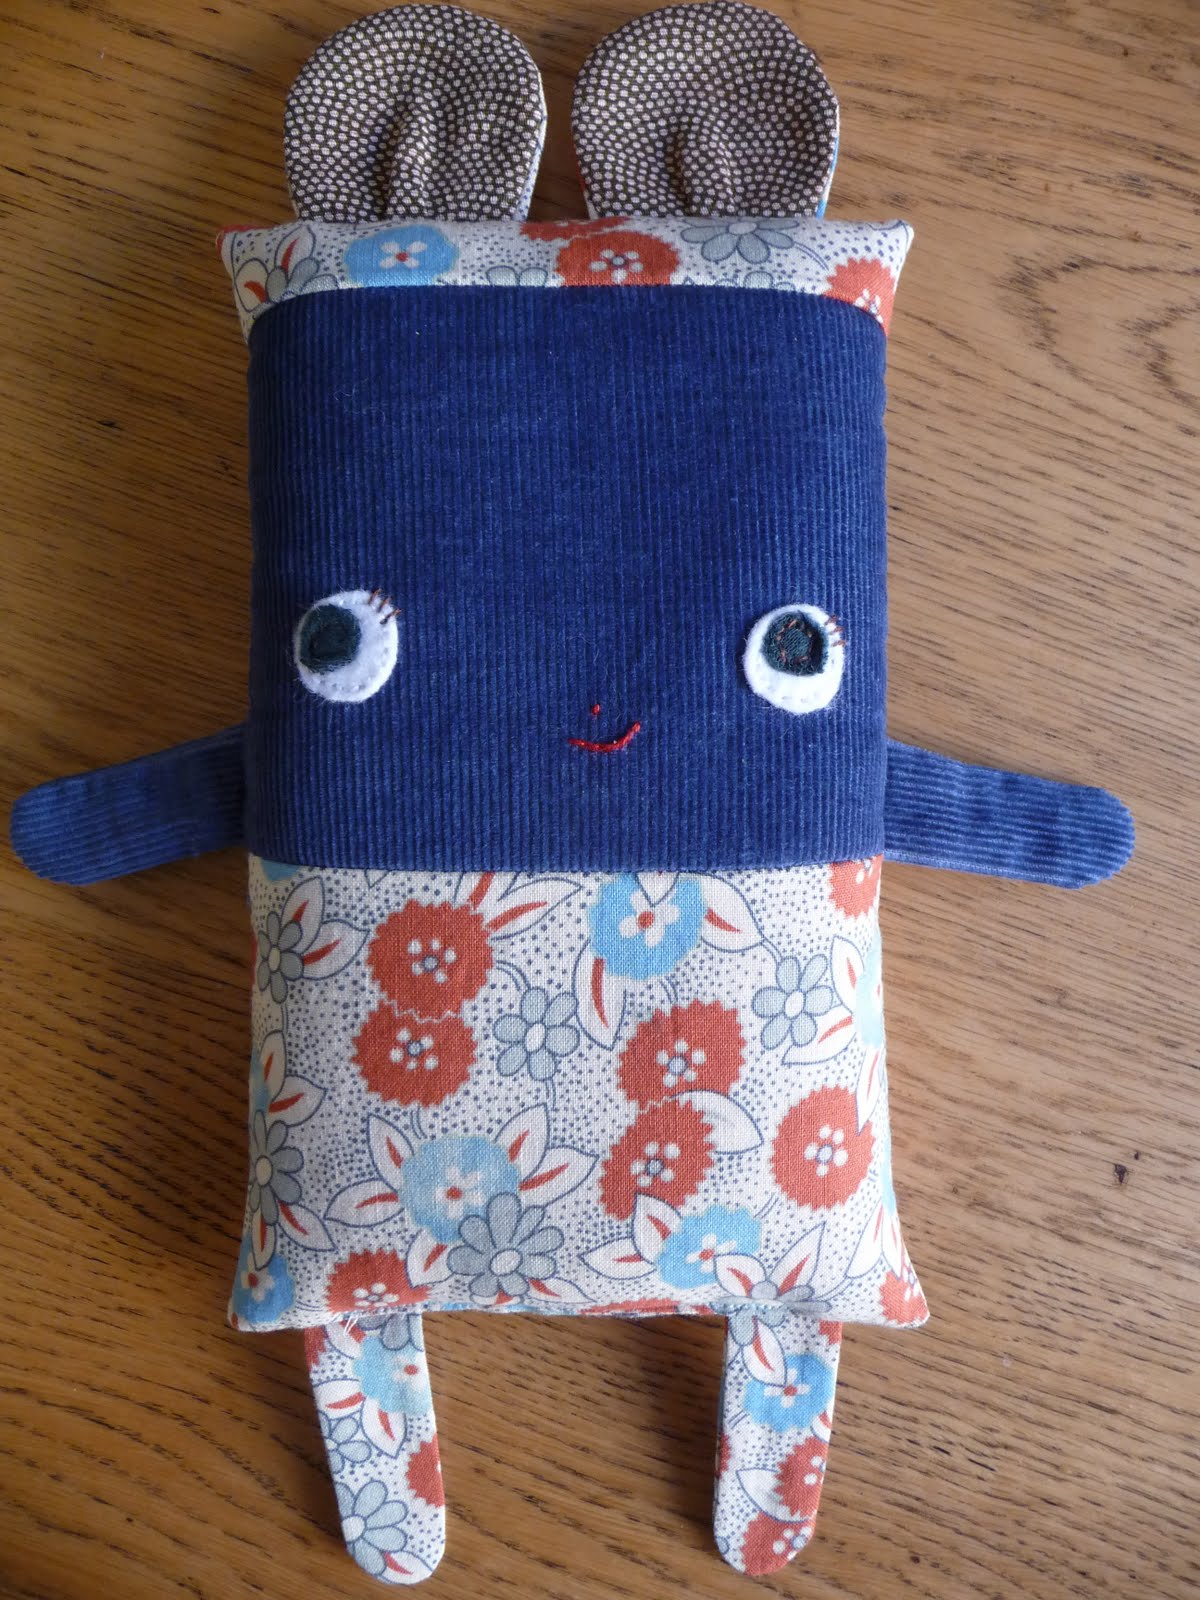
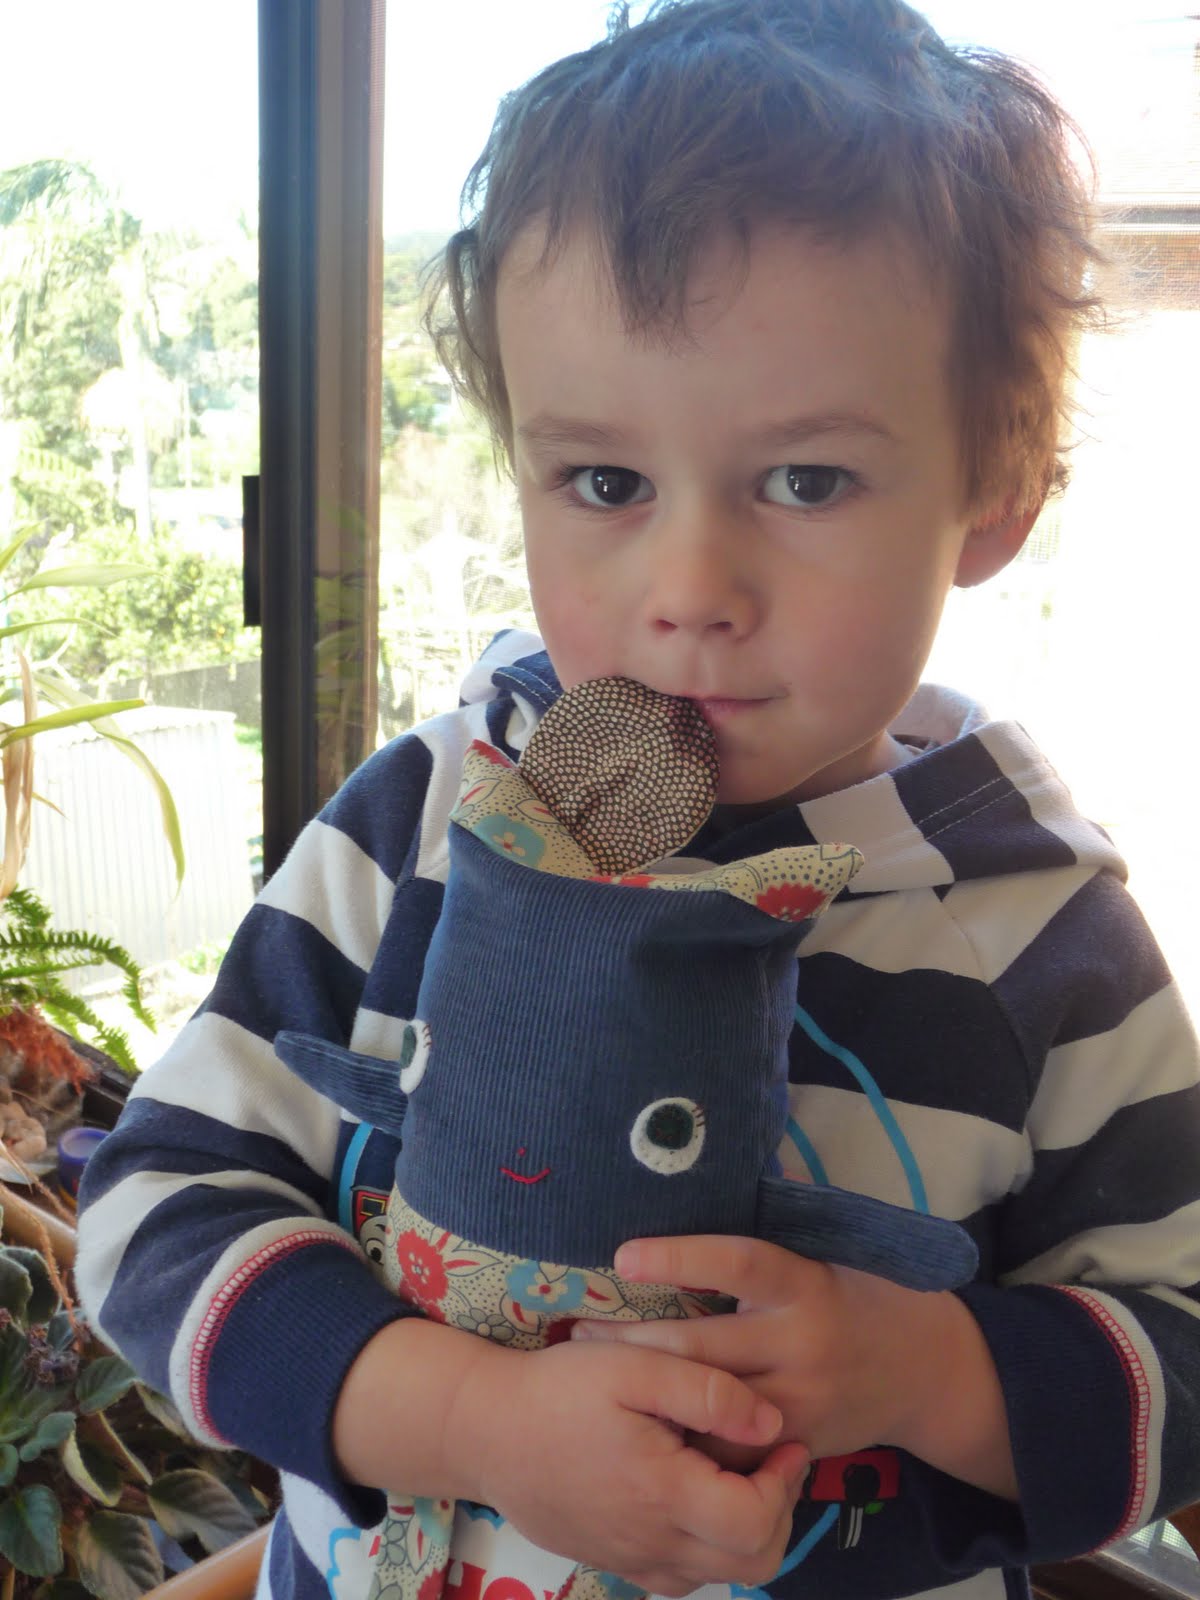
I've made lots of knitted toys; this is my first sewn plushie. I think it was supposed to be a Christmas present; it finally got to its recipient on the weekend. The pattern is the 'Softie wheat-bag friend' from the 'Meet me at Mike's' book, compiled by Pip Lincolne. The pattern is well-written and easy to follow. It's stuffed with wheat kernels to make a nice warm friend! The fabric is mostly from Spotlight with a re-purposed Japanese hanky for the ears.

Do we really have to give it to Auntie Jeremie??

Cheery chicken potholders:
I made these as practice for quilting and for attaching binding and mitering corners. We also desperately needed to replace the potholder we were using under our teapot. So they're really used as trivets instead of potholders. The fabric is Metro Market from Robert Kaufman, with some dots from my local fabric store.

Joseph has claimed the other one as his own coaster; notice how it is perfectly aligned with 'his' new placemat:

Finally, I've made some sample blocks and then cut lots of strips for Joseph's quilt:

The fabric is Wheels from Riley Blake. I think it might be a bit busy and could do with some coordinating solids? Any thoughts?

Tuesday, July 13, 2010

My First Quilt - FINISHED!

Basting...a couple of hours quilting...a day or so of indecision...an hour and a half of ripping out stitches...a few more hours of quilting...machine-stitching binding...hand-stitching binding...a wash and a dry...rainy day photos...

At last, my Wonderland Quilt is finished. It's a 'crib-sized' quilt, about 38" x 50", for my baby girl's first birthday in August.

Here's the front:


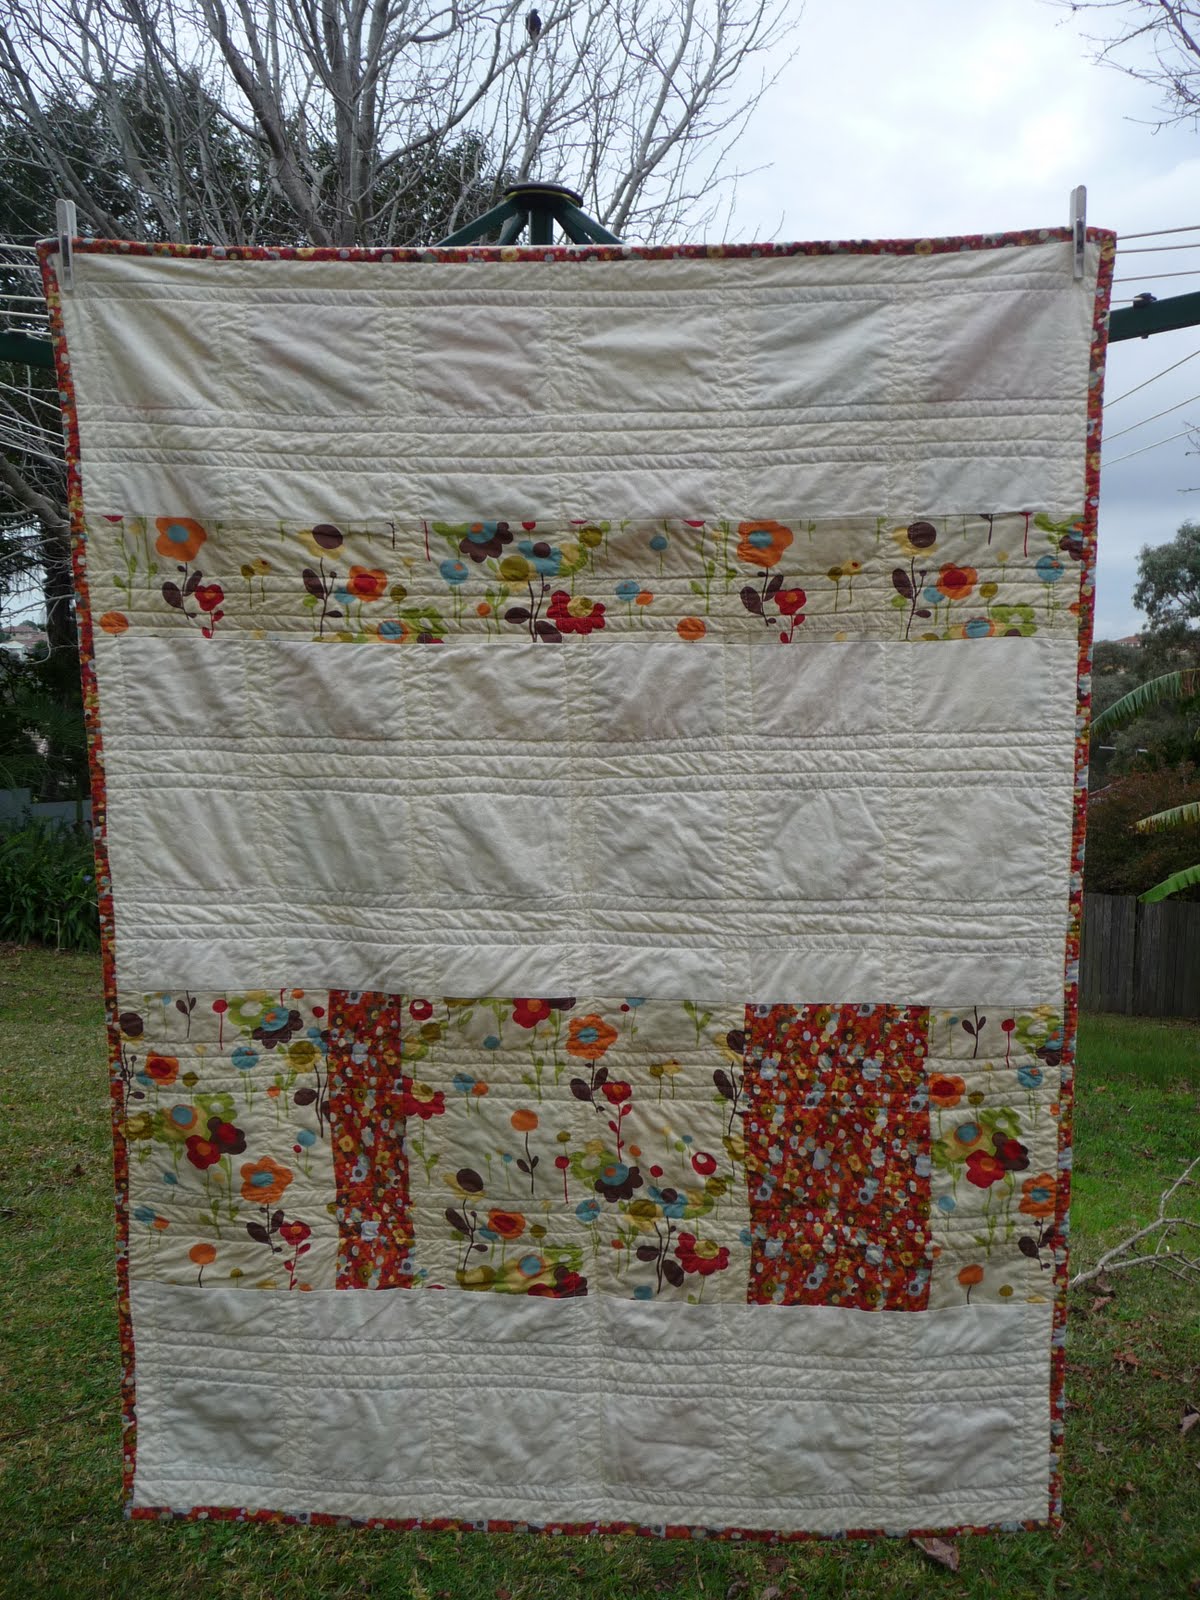
And the back:

And a close-up of the binding, made using that first piece of quilt fabric (Tweedle Dee in tomato) I ever acquired, as a gift from a friend:
After ripping out a lot of stitches and then re-quilting, I arrived at an amount of distortion and puckering that I think is acceptable, even to my perfectionist self. I think realism reigned, and I had to accept that there were going to be some imperfections, especially using a normal presser foot.

And, I will do it all again. I've already designed and started cutting for my next quilt - a single (twin) bed quilt for my son, using Riley Blake Wheels fabric. It's been really fun involving him in the fabric choice and design process. But that's for another post.
Related Posts with Thumbnails